Showing posts with label sew. Show all posts

Friday, December 23, 2011

Remake 4 Christmas Edition {Pinterest}

It's already almost the end of December and I have yet to post about my latest accomplishments!! The entire list is a mix of Christmas ideas/gifts and Pinterest projects, so
here goes:

1. Eggplant***
Eggplant is not an easy vegetable to work with. Ever since having this dish over in East Asia, I've been craving it. I think I finally found a recipe I like.....
*Nothing like the authentic :)

2. Blog Button (with drop box)****
I took Web Design for two electives in high school where I learned basic HTML, but I hardly remember anything I learned! Haha! I've been meaning to make a new Etsy banner for my shop (now accomplished), and thought I'd start out with a blog button first. 
*As long as you follow the instructions, you can do it (there are a lot of steps though)!

3. Fabric Flowers**
These were definitely harder than I thought to make. I switched the directions and did the wrong stitch lengths and had to start over. 
*I liked the flowers better when the length was cut in half.

4. Gift Bag****
What a great way to repurpose wrapping paper! I bent in the center so I could fold it up to store. Later I added handles from a Trader Joe's paper shopping bag.
*Make sure it's pretty heavy duty/thick enough to withstand weight


5. Tinsel & Ornament Wreath****
Such a fun, vintage twist on the usual Christmas wreath!
*I technically didn't really follow a tutorial. I had bought the tinsel wreath last year in the Target One Spot and then hot glued ornaments all around in green, silver, & red!

6. Tile Coasters*****
I purchased 6 basic white tiles at Lowes (16 cents each). Chose coordinating scrapbook papers and cut to size. Use Mod Podge to adhere to tile and then coat with too (I used Matte) and then spray with a sealer (I used Clear Valspar Matte). Hot glue cork to the bottom. Ta-Da! 
*I made these for every single woman in my family. That totals to 8 sets of coasters!! 

7. Puppy Chow**
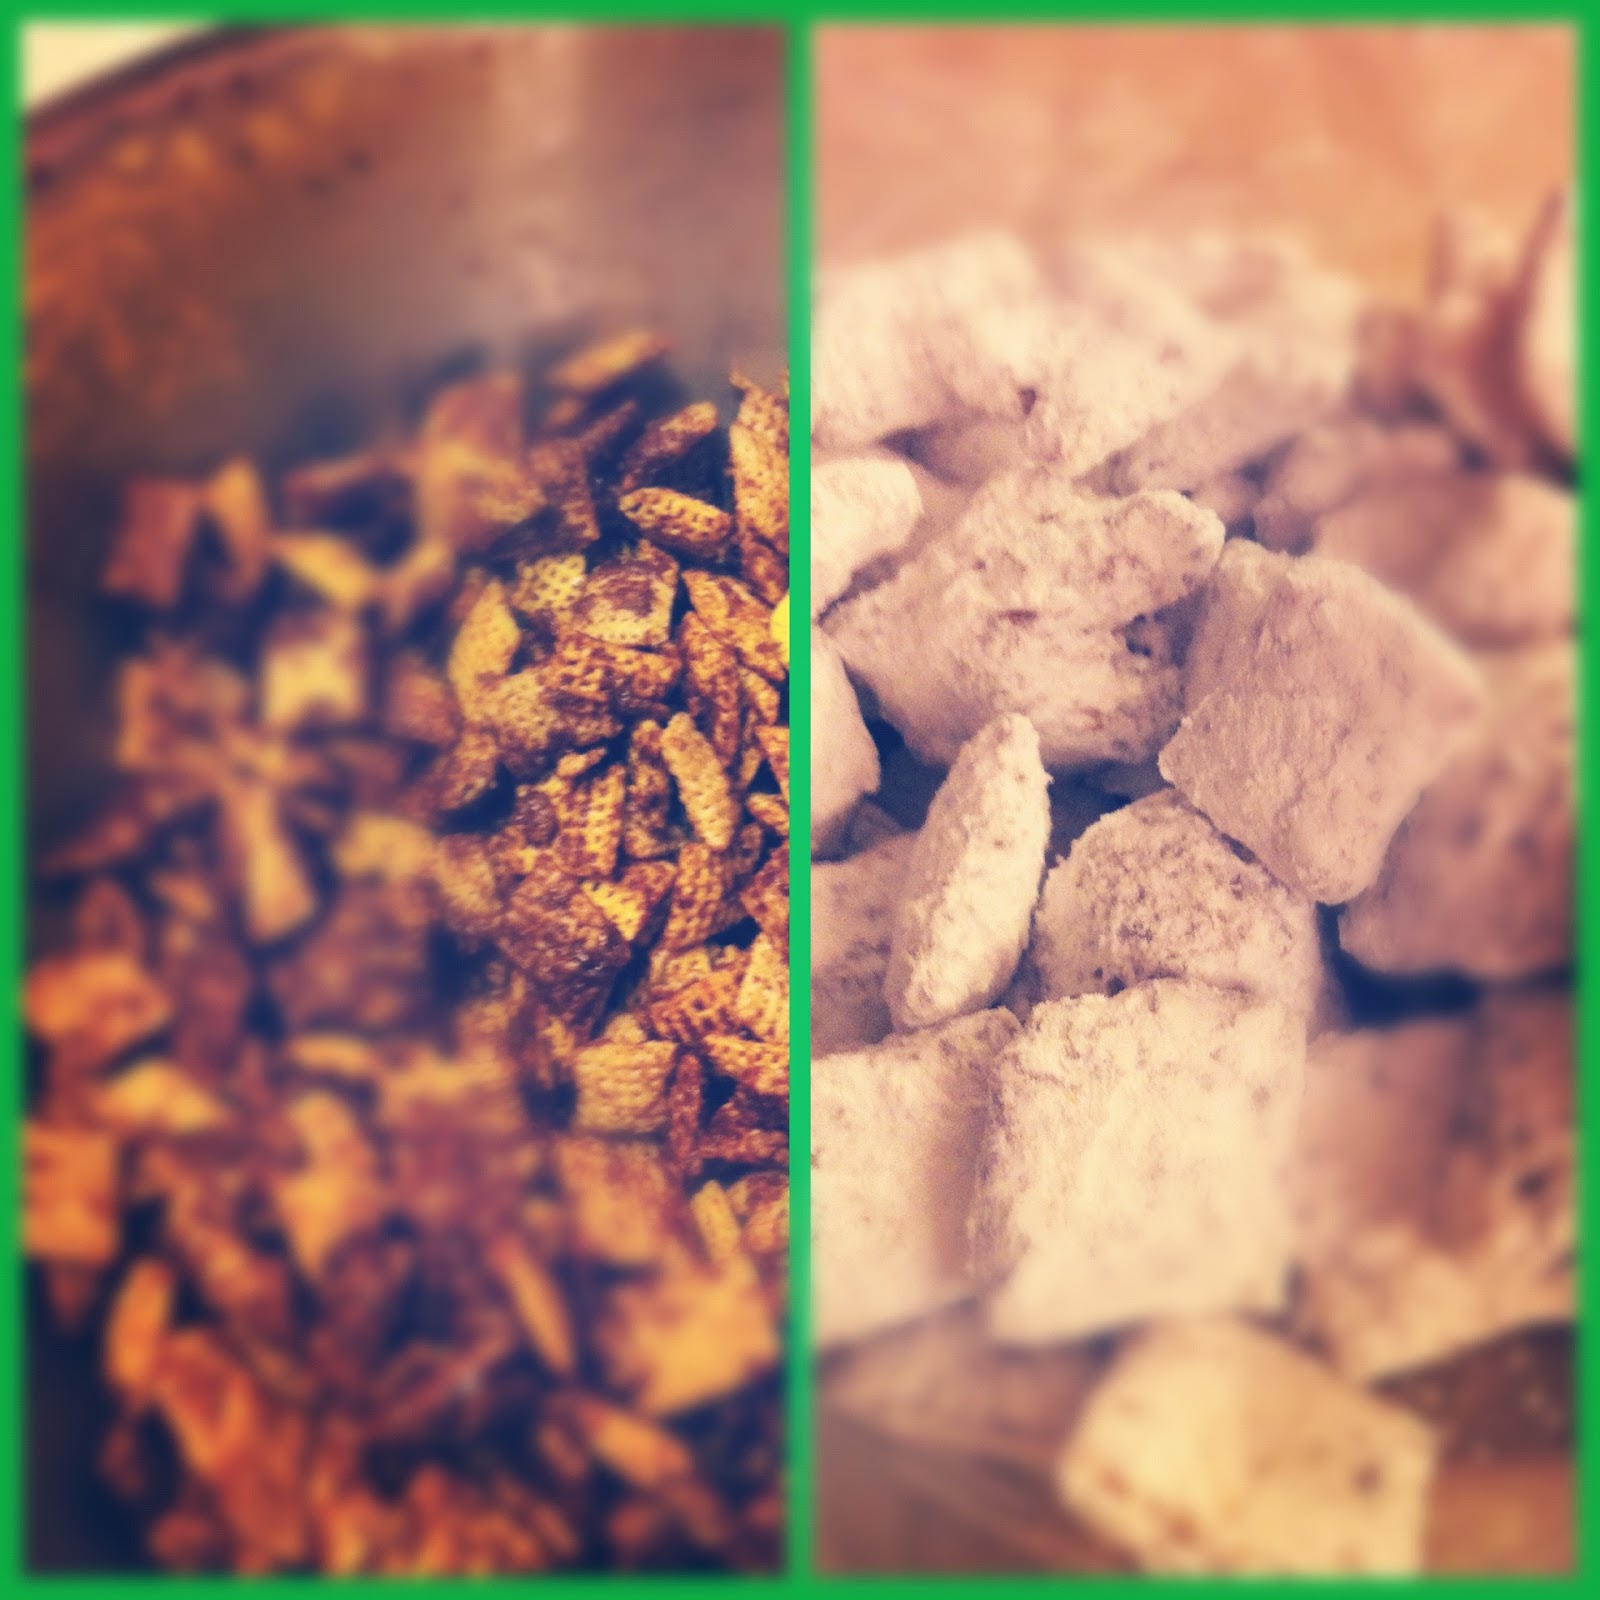
My mom has a peanut allergy, so we never made puppy chow in our lineup of Christmas cookies. We decided to make some last night and split it up into 8 sandwich bags to give/portion control
*Didn't do the hazelnut step in this recipe and mixed Nutella with some Peanut Butter


[As always: the Pin & the Board]

#4 from Gift Wrap
#7 from Sweet Tooth

Hope everyone has a merry Christmas Eve!!! :)
and a wonderful holiday season!

Thursday, October 6, 2011

Patchwork Handkerchief Tablecloth


A few months ago I acquired a fun collection of around 40 handkerchiefs. I wasn't really sure what to do with them, but we were going to have company for Matt's birthday weekend and I didn't want to have a "naked" table.

First, I started with sewing two handkerchiefs together to make a mini runner and then decided to go all the way and make a tablecloth. I've never done a sewing project of this caliber before and I was a little intimidated. After sewing one complete row to another row, I knew it wasn't going to be that hard.

Materials:
24 Handkerchiefs (each measures 14x14 inches)
Sewing Machine
Neutral Thread (I used white)
Iron

1. Start with two (I used coordinating colors) handkerchiefs and place them right side facing each other (their nice side).

2. Place the edges right next to each other and sew them together making sure that the needle goes onto both handkerchiefs with the zigzag stitch.  

3. Continue step 2 by sewing on two more handkerchiefs to make a row of 4 total (you will need 6 sets of 4 handkerchief rows- does that make sense?) 

1 #### 
2 ####
3 ####
4 ####
5 ####
6 ####
  1 2 3 4

4. Start with one finished row of 4 and place it right side facing another finished row. Sew all the way down the lined up handkerchiefs. Continue doing this (by having your finished rows done already, all you need to do is sew them together row by row) until finished! 

5. Once you've completely sewn all 24 handkerchiefs together, you will need to hem them. I folded up the tablecloth edges approximately 3 inches up and stitched the top of the hem and the bottom of the hem to make two lines. 

6. (Optional) I went over the corners again to make a visible square. And you're done!

(Sorry it's so wrinkly! I haven't ironed it yet!)

Hope this tutorial wasn't too hard to follow- I'm not familiar with all the correct sewing jargon!! I just love the uniqueness of this tablecloth and it's almost vintage feel :) I really enjoyed making this patchwork tablecloth and hope you feel inspired to make your own!

 I still have leftover handkerchiefs to make something else with- any suggestions?!


Saturday, May 21, 2011

Dishtowel Knock-Off {Anthropologie}


I saw this -----> 

on the Anthro website and loved it, but not it's price tag ($24)!!
So, I decided to make it myself!

What I used:
White flour sackcloth dishtowel (Dollar Tree = $1),
Embroidery Thread (Michaels 36 color pack= $5.99) + 40% off coupon
Embroidery Hoop for centering the design (Michaels= $1.89) 
Fabric scraps for the leaves, bird, & clothes
Scissors
Needle

I just free-handed the design.....& since I only used 9 colors of thread (.10 each), the cost for this project was only $3.80!!


sorry this one is sideways....


*This dishtowel is being sold for Adding Anna Carson's adoption :)


[See the full list of where I link up] 

Wednesday, April 13, 2011

What I've Been Up To


Crafts with my sister (when my parents came to visit)-


Seeing Spring Flowers (with Lucy pup)-


 A visit to Charleston (post coming soon)-


Love this face
Making a Spring Paper Banner-


My Momma's Homemade Lasagna (Best ever)-


Making Gifts for Friends-


There is plenty more, but that's all for now :)

Friday, March 25, 2011

Simple Fabric Headband


Kentucky has made it to the Sweet Sixteen! Hooray!! They play tonight for the Elite 8- GO CATS!

SO......While trying to break up the monotony of making little cosmetic bags and clutches (all that I am practicing my sewing on), I decided to try my hand at a fabric headband!

My best friend owns 2 or 3 of these,  and I thought they would be a cute change to the hair clip, bobby pin, or regular headband. You can buy them OR you can make them :)

Now, this is the first headband I've ever made, so it's not perfect.....
But I'll give you the basics..........

Supplies
Cute Fabric
Scissors/fabric cutter
Cutting mat
Ruler
Sewing machine
Elastic hair band (you'll need 1/2 of it)


1. Cut your fabric 13" lengthwise and with a 4" width
2. Sew the ends first. Fold the end corners of your fabric into triangles 2" up leaving a 1" gap in between. Then, fold up the center 1/2" and sew (see picture).


3. Fold the fabric in half with the right sides facing each other. Sew on the outer edge with a 1/2" inseam. Trim the edges.
4. Turn the now "tube" inside out and place the seam in the middle. (You can lightly press with iron if you want- I didn't).

5. Cut the hair band perfectly in half. Taking one side, sew the elastic onto the fabric end (do one end at a time) about 1/2" into the hole. (Try not to sew all the way across the fabric, you just want to secure the elastic to the fabric - did that make any sense?) Repeat on the other side making sure it's not twisted.
6. Finally, while still working at the underside of the headband, fold the corners up around the elastic
and sew (they should make a triangle again) to completely enclose the elastic.
7. It's ready to wear!!


* Apologies for the VERY orange looking photos and the quality since they're from my phone!!! Sorry! 
The fabric is really a light peach with aqua flowers.

* Thanks for bearing with me on my first sewing tutorial! I'm not sure I know the exact lingo :)


Linking this to:

giveaways    Tidy Mom   Katie's Nesting Spot
    Chic on a Shoestring Decorating   
make it wear it 


ps- And a very Happy Birthday to my sister (in law) Lauren!!!!

Happy 24th! Love you!
Related Posts Plugin for WordPress, Blogger...