Showing posts with label colors. Show all posts

Sunday, January 29, 2012

Coffee Filter Backdrop


The bride (my now SISTER in law!!!!!) wanted a fun backdrop for behind the cake table and we chose this pin as inspiration:
{seen here & the Pinterest Board Mark & Sandy}
Because knowing that fabric can sometimes be expensive, I chose to do something a little different.....I dyed coffee filters and hung them from a tree branch "frame" :) It was funky, neon, and one of my favorite projects! 

If you're interested in how I made this, I've included a quick tutorial:

Supplies:

*Dyed Coffee Filters (6 packs)
Fishing line
Plastic Straws (3 boxes)
Scissors
Needle
Metal Washers (15)
Large Crimp Beads (1 pack)
Pliers
*Backdrop Frame

*I had previously dyed the coffee filters with regular & neon food coloring. It's not too hard to do- I mixed up different color combinations according to the back of the box :) Then, I broke up the coffee filters into large sections, folded them into quarters, dyed them together at one time, and then separated them filter by filter to dry (underneath wax paper and paper towels).
*My husband made the backdrop frame using 3 tree branches.
*The only things I bought were the coffee filters & crimp beads :) This project was under $8

My mama-in-law and friend Allison slaving away :)
Can you see the tree branch frame?
Instructions:

1. You will need to cut your fishing line at least a foot longer than your backdrop stand's height. My stand was 6 ft tall, so I cut each of my lines 7ft in length.

2. Cut your straws into 5-6 pieces each and place in a bowl. I liked using straws that were the same color as my filters :) 

3. Tie a washer to one end of the fishing line. This will act as a weight to keep the strings in place.

4. Using your needle, poke a hole in the center of each filter. I used a large thick needle and did a stack of 10-20 filters at a time. 

5. Alternate back and forth with a straw piece and coffee filter, stringing them along your fishing line. I did each line with the same color.


6. Once all your lines are complete and you've used up all your filters, have a friend help you hang them!! Standing on a chair (if you're short like me), loop the string around the branch, pull the line until it's hanging where you want it, then have your friend hold the two strands together. Using your crimp bead, make sure the two strands are inside the indention and squeeze together with your pliers. I did two beads on each line just to be secure.

7. Repeat step 6 until you're done! Then, crinkle all the coffee filters from top to bottom (so you can't see the straws) like they're a flower. Please ignore the one I didn't finish-OOPS!

8. Stand back & enjoy your handiwork! This project would be a lot of fun for a birthday party!

{Here are some photos of the Coffee Filter Backdrop at the wedding reception}

 
Mama Pepin putting the cake together

All the pretty blues and greens

Cutting the Cake        


When they were done, I took this shot of them in front of the backdrop :)

Congrats Mark & Sandy!!!
we love you!


Make sure you check out the other fun wedding crafts I put together!! 
{#1 and #2 and #3}

Wednesday, January 25, 2012

Wordless Wednesday


                                                        Source: lovevsdesign.com via Jamie on Pinterest


                                                   Source: janecoslick.blogspot.com via Jamie on Pinterest


                                                    Source: designsponge.com via Jamie on Pinterest


                                                     Source: blog.hannamac.com via Jamie on Pinterest


                                                      Source: urbanoutfitters.com via Jamie on Pinterest


                                                              Source: justataste.com via Jamie on Pinterest


                                                          Source: stylemepretty.com via Jamie on Pinterest


                                                          Source: flamingotoes.com via Jamie on Pinterest

Friday, January 13, 2012

Remake 6 M&S Wedding Edition 2 {Pinterest}

I am a lover of details.
I tend to notice the small things that others tend to overlook (not intentionally).
I've always appreciated the minute details of the color palettes, fonts, invitations, programs, shower invites, flowers, etc of any wedding (or party for that matter)!!!
I might be strange to some people, but because of this I tend to photograph certain things more, break down how things were done to recreate myself, and impress upon others the things I find important :)

I hope that you find this true in my blog.


SO, if you missed M&S Wedding Edition 1- GO HERE!! & to continue in the sweet little details of wedding decor........

1. Striped Paper Straws*****
 
Who doesn't love these?!?! The grey paper straws were perfect for sipping water, coffee, or tea with and they matched the wedding colors!!
*Kikkerland straws (144 for UNDER $6 a box) from Amazon

2. Lanterns & Pom-Poms****
After hanging lanterns over the dance floor, I had a few leftover so I tied them together along with two white pom-poms and hung it (thanks Cindy!) over the Welcome table in the front foyer of the lake house.
*It was a little last minute touch of fun :) & the lanterns were from my wedding-love when I can reuse things!

3. Chalkboard Menus****
I made these beforehand (#2) and then bought little frame stands from the Dollar Tree. They gave "directions" for the guests as to where to place gifts, take a favor, write a piece of advice, build their own s'more, dinner menu, wine menu, and to have a good time!!!
*These can be used over and over

4. "S'More Love" Sign***
Having a S'more table was such a fun idea! There was a firepit at the lake house and it was the cool place to be :) Using burlap, paint, & twine (things I already had), I sewed together this banner to designate the table with chocolate bars, graham crackers, & marshmallows!
*Cute play on words

5. Wooden Cake Stand***
Matt's dad cut down a tree (which was also used for firewood) from their backyard to make the cake plate. It was sanded and sealed for the cake to be placed on. Somehow it didn't make it from the plate to the wooden plate? lol
*Tied in the natural elements of the small wooden pieces and the cake table backdrop frame, plus it was FREE


#1, #2, #3, #4, and #5

Monday, January 9, 2012

Remake 5 M&S Wedding Edition {Pinterest}

Wedding planning can be VERY stressful (I wish that it wasn't)!! Knowing this, I volunteered to be in charge of all the decorations for my brother and new sister-in-law's wedding. I really enjoy devising get togethers, events, planning, organizing, and being creative with what I have/having a limited budget. Here are a few of the ideas that I worked on that were displayed at the reception... Many of these were inspired from things found on Pinterest and specific choices made by the bride :) I am so thankful for all of the help I received during this time in implementing, setting up, and taking down the decor (you know who you are! THANK YOU!!)

I will be sharing two more in this same series at a later time!


1. Cake Table Backdrop*****
The cake table needed something to make it stand out and this was such a perfect idea!!! The pin for this project was none other provided by Anthropologie. I, however, had a different idea as how to it should be done. By dyeing the coffee filters in various shades of blue and green, stringing them on fishing line, and hanging them from a stand to sit behind the cake table. It made for an excellent photograph backdrop while cutting the cake!!
{pictures & tutorial UP NOW!!!}
*Seriously, this is probably my favorite project to date!

2. Mason Jars****
  
The bride wanted to line the aisles with large mason jars. I filled them with Epsom salts so that they would stand out more with the LED candles (in case they were knocked over- wouldn't want to start a fire!) for a warm glow. Raffia tied around the jar together with silver cypress and juniper berries for natural greenery.

3. Advice Table***
The idea of having an advice table where people would write marriage tips ("keys to a happy marriage") on scraps of paper and then clip them to a clothesline. A cocktail table with the instructions, pens, and notecards were set beside the frame. I strung the frame with white tulle and navy ribbon and used twine for the actual clothesline. This frame was placed in the middle of the wine bar and bread & cheese station to allow people to have something to do while they waited on the arrival of the bridal party :)
*The frame was my parent's old window insert-HA!

4. Twine, Burlap, & Ribbon Wrapped Vases****
 
We wanted some of the jars around the reception (mostly for the main centerpieces) to tie into the natural elements of the lake house and match each other. We had around 20 vases total.
*These looked great on the tables- some had flowers while others had candles in them.

5. Ceremony Welcome Table****
Sandy's vintage seafoam typewriter was a starting point for the table. I added some mason jars, candles, burlap, and wood pieces for height. The guestbook was on this table as well as a basket with the programs.
*It was a funky, vintage mix :)


{The actual pin site and the board I pinned them to}
#1, #2, #3, #4, #5 all from Mark & Sandy 


Whew!! 
I can't wait to show y'all how all this hard work came together!!!

Saturday, November 12, 2011

MISSONI {for Target} Tiered Serving Trays


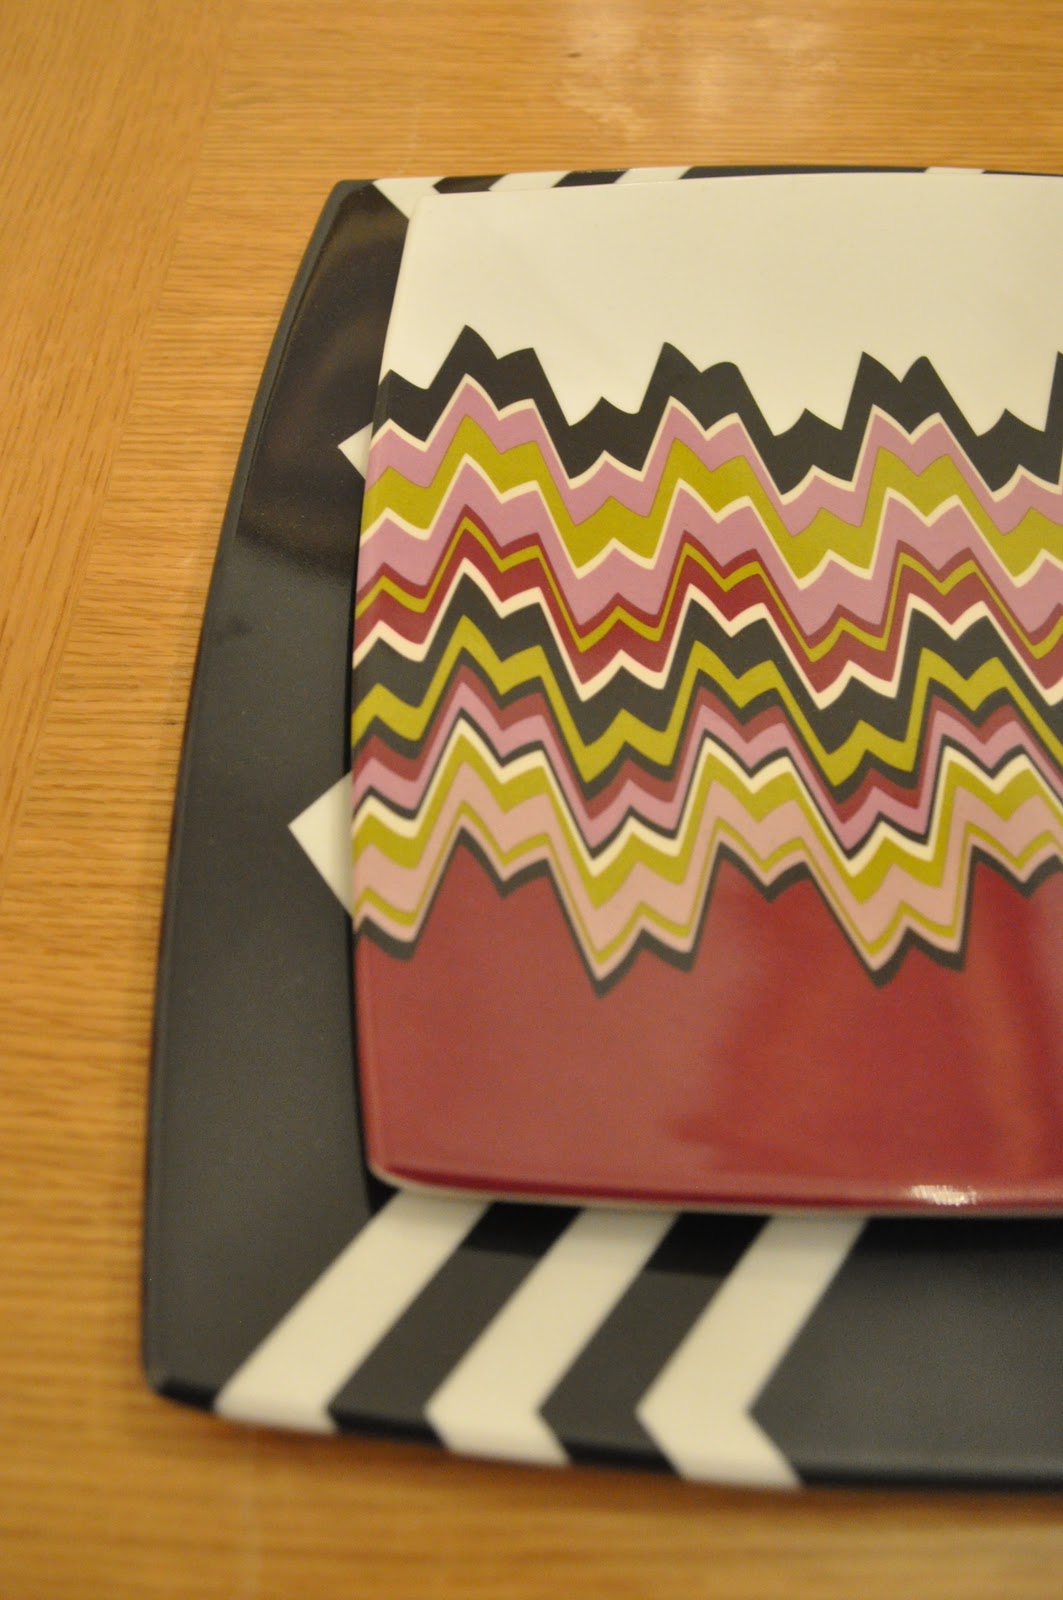
When Missoni came out with a line for Target, I waited 2 days before venturing out to my local store. I was interested in seeing what all the fuss was about. Several things were gone, but there was still plenty leftover (lucky me!) I grabbed up only a few items: 2 coffee mugs, 2 storage bins, and a couple of the plastic dinner, salad, and appetizer plates with the intention of using them for two separate tiered serving trays.

So to make the tiered trays:

I already had some Dollar Tree glass candlesticks.....
which I spray painted with Krylon's Dual Paint + Primer (in Satin Black)
and attached them to each other using E-6000 glue.


#1


#2

The plates before being assembled

This plate is my favorite


These serving trays were really easy to make & I can't wait to use these or gift them!
{They'd be great for serving "small bites" at a party, shower, or tailgate} 


Tip Junkie handmade projects
Related Posts Plugin for WordPress, Blogger...